
Last updated November 20, 2026
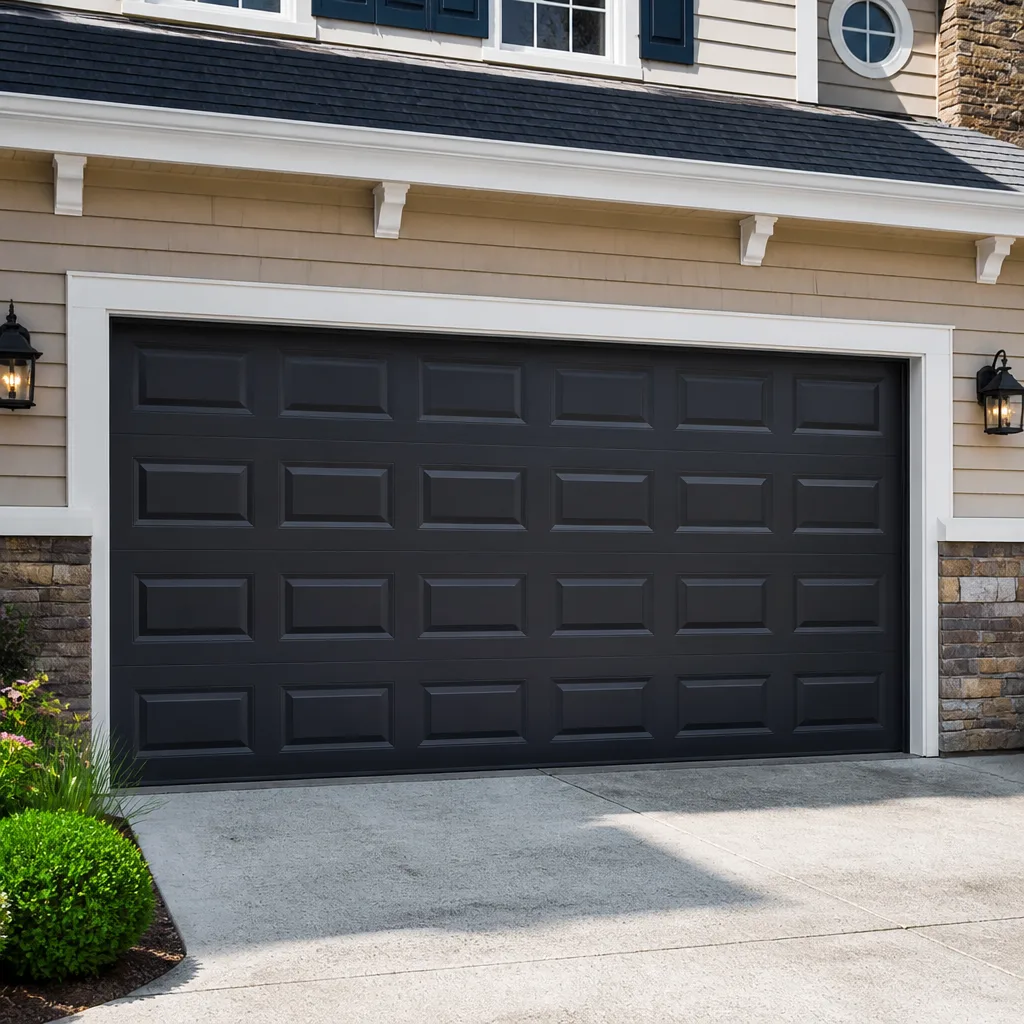 Raised-panel steel
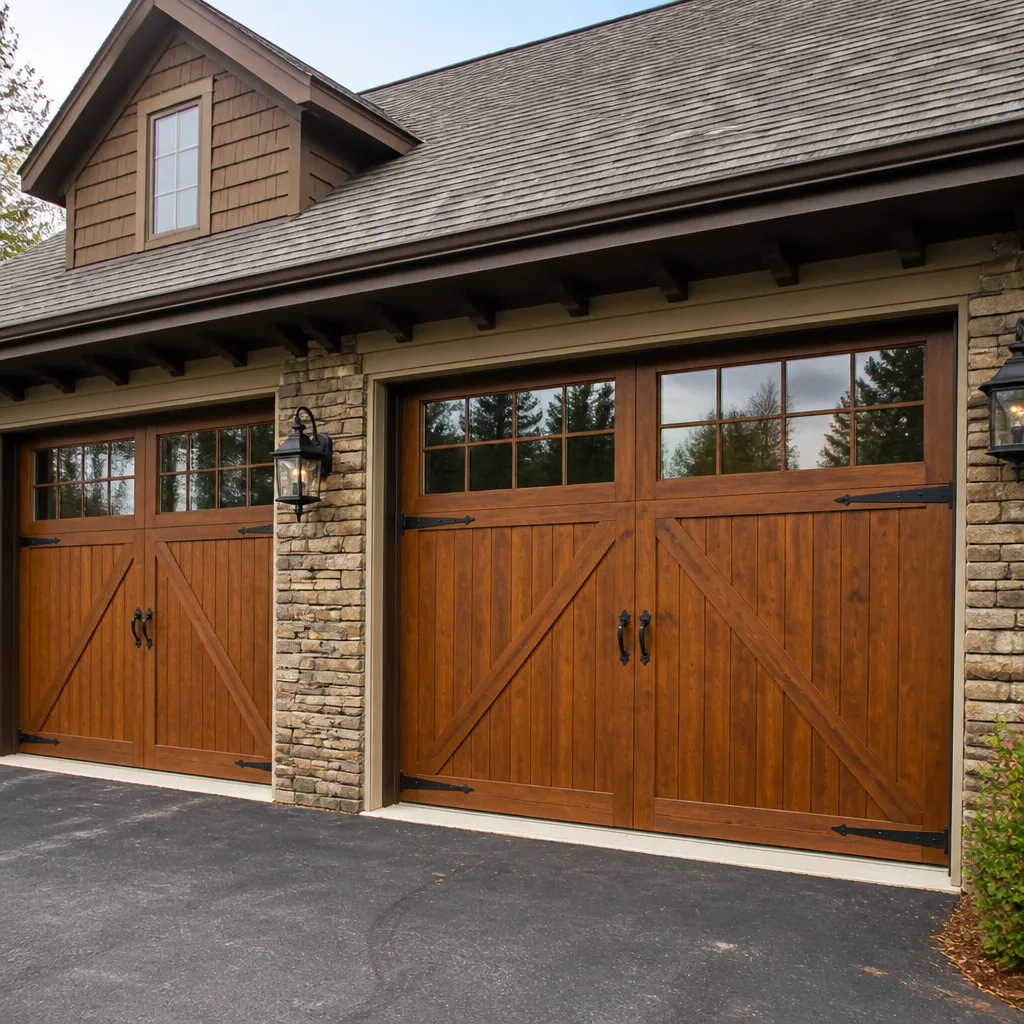 Carriage house
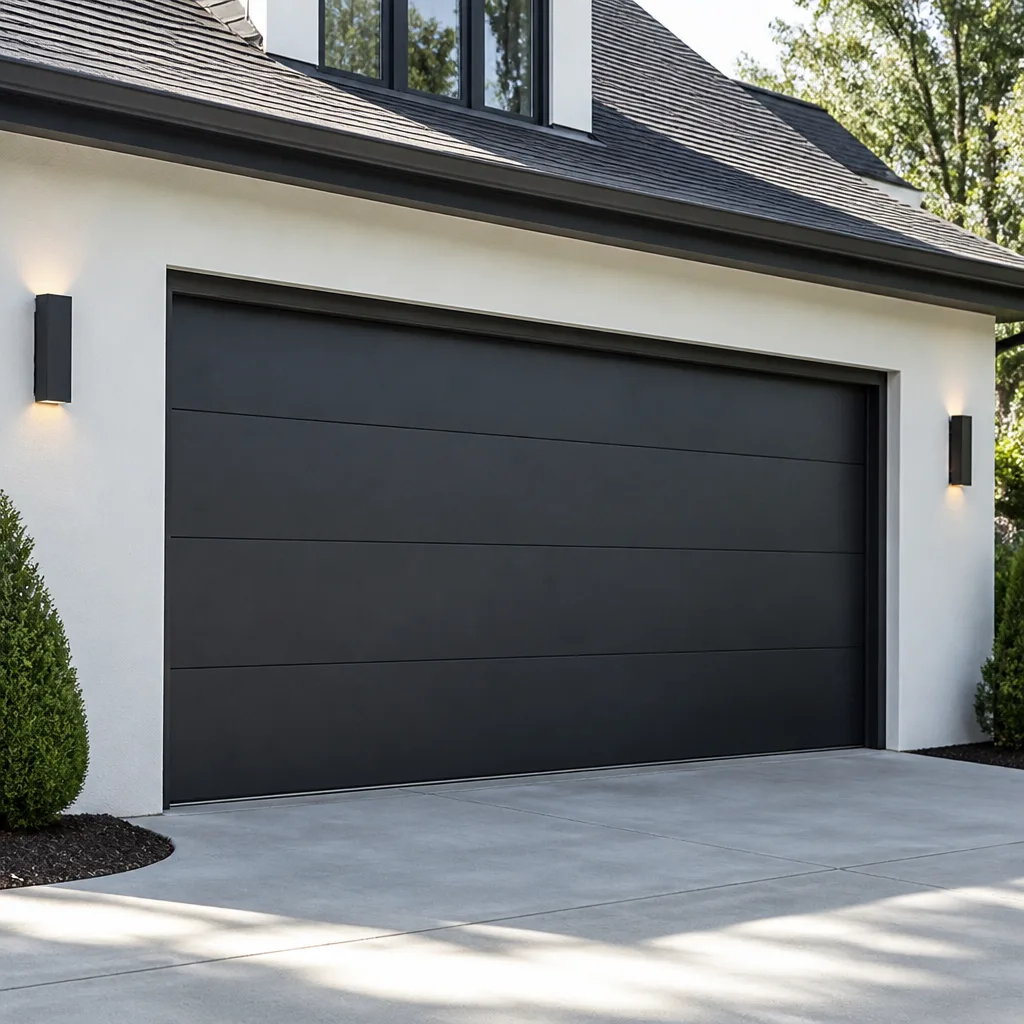 Modern flush
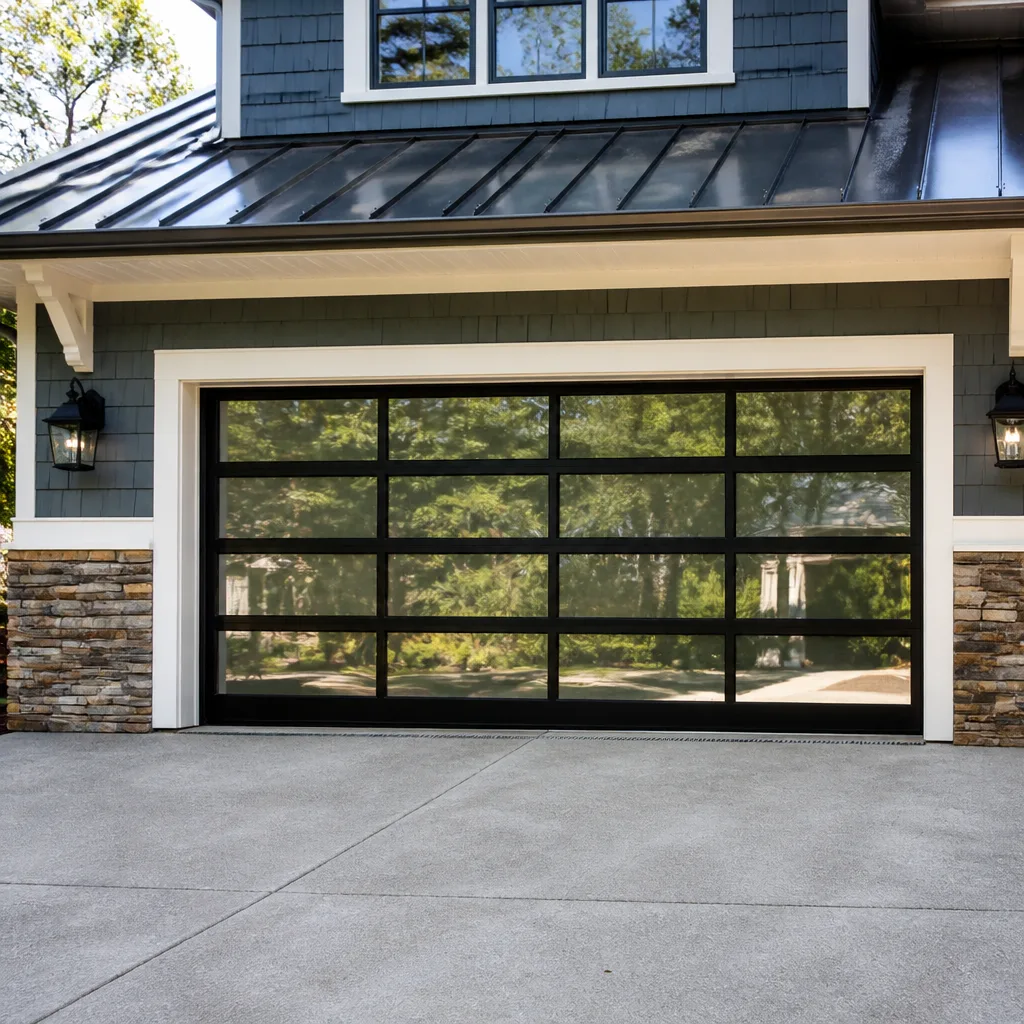 Full-view glass
 LiftMaster openers
 Chamberlain openers
Full 25-point door and opener safety check with every visit - springs, cables, rollers, tracks, and your LiftMaster or Chamberlain opener included
You get a price before we start. It does not change when the pro arrives.
Get your free estimateGarage Door Repair Maintenance Checklist for West Park Homeowners
A loose cable drum and a worn torsion spring look fine to the untrained eye right up until they don’t, and by then your door is sitting crooked on the floor of your garage and your car is trapped inside. The trouble with most maintenance advice is that it stops at “lubricate the moving parts,” which is a caption, not a checklist. What actually keeps a door working is a sequence: you look at the parts that fail catastrophically first, test the balance, then move to the smaller wear items. This guide walks West Park homeowners through that exact sequence, task by task, with specific pass/fail signs for each component, the right lubricant for each part, and a clear line for when to stop and call a specialist.
Quick Answer
A garage door maintenance check in West Park should be done twice a year: once in late fall before the first hard freeze and once in spring after the last one. The core sequence is a visual inspection of springs, cables, rollers, tracks and the bottom seal, a manual balance test with the opener disengaged, and lubrication of the correct parts with the correct product. Any frayed cable, a spring with a visible gap, or a door that won’t stay balanced means stop and call a professional.
Styles & brands we work with
- Raised-panel steel
- Carriage house
- Modern flush
- Full-view glass
- LiftMaster openers
- Chamberlain openers
Table of Contents
- Why the Order of Your Inspection Matters More Than the Tasks
- Step 1: Inspect the Springs Before Anything Else
- Step 2: Check the Cables and Cable Drums
- Step 3: Rollers, Hinges and the Bottom Seal
- Step 4: Tracks, Panels and Fasteners
- Step 5: The Manual Balance Test
- Step 6: Lubricate the Right Parts With the Right Product
- Seasonal Timing: What to Run Before Winter and After the Last Freeze
- What to Check on the Opener Itself
- How to Inspect Your Garage Door (VIDEO)
Why the Order of Your Inspection Matters More Than the Tasks
Most homeowners inspect a garage door from the bottom up, starting with the seal and working upward, because that’s the part they can see while standing in the doorway. That order is backwards for one reason: the components that fail dangerously are at the top and on the sides, and if you’ve already spent twenty minutes on the seal you’re less likely to give the springs the attention they need. Springs and cables carry the entire weight of the door. When one lets go, the door can drop or twist, and the repair is no longer a spring swap, it’s a spring swap plus track straightening plus possibly panel replacement.
So the sequence in this guide is deliberate. You check the parts that fail catastrophically first, while your attention is fresh. Then you check the wear items. Then you test the balance. Then, and only then, do you lubricate, because lubrication after inspection means you’re not masking a symptom with grease. In our experience across West Park, the doors that fail unexpectedly are usually the ones where a homeowner lubricated regularly but never actually looked at the springs or cables.
The full inspection below takes about twenty to thirty minutes for a single-car door. It requires no tools beyond a stepladder, a flashlight, a rag and a can of the right lubricant. If you’d rather have a specialist run the whole sequence and tell you exactly what condition your door is in, that’s what a garage door repair visit is for, and the estimate is free.
Before You Start: A Safety Note
Everything in this checklist is a visual check or a simple balance test with the opener disengaged. Nothing here requires you to touch a torsion spring, loosen a cable, or adjust a drum. Those components are under extreme tension and can cause serious injury if handled without the right tools and training. If your inspection turns up a problem with a spring or cable, stop there and call a professional. We say this plainly because we’ve seen what happens when a homeowner tries to save a service call by “just tightening” a cable.
Step 1: Inspect the Springs Before Anything Else
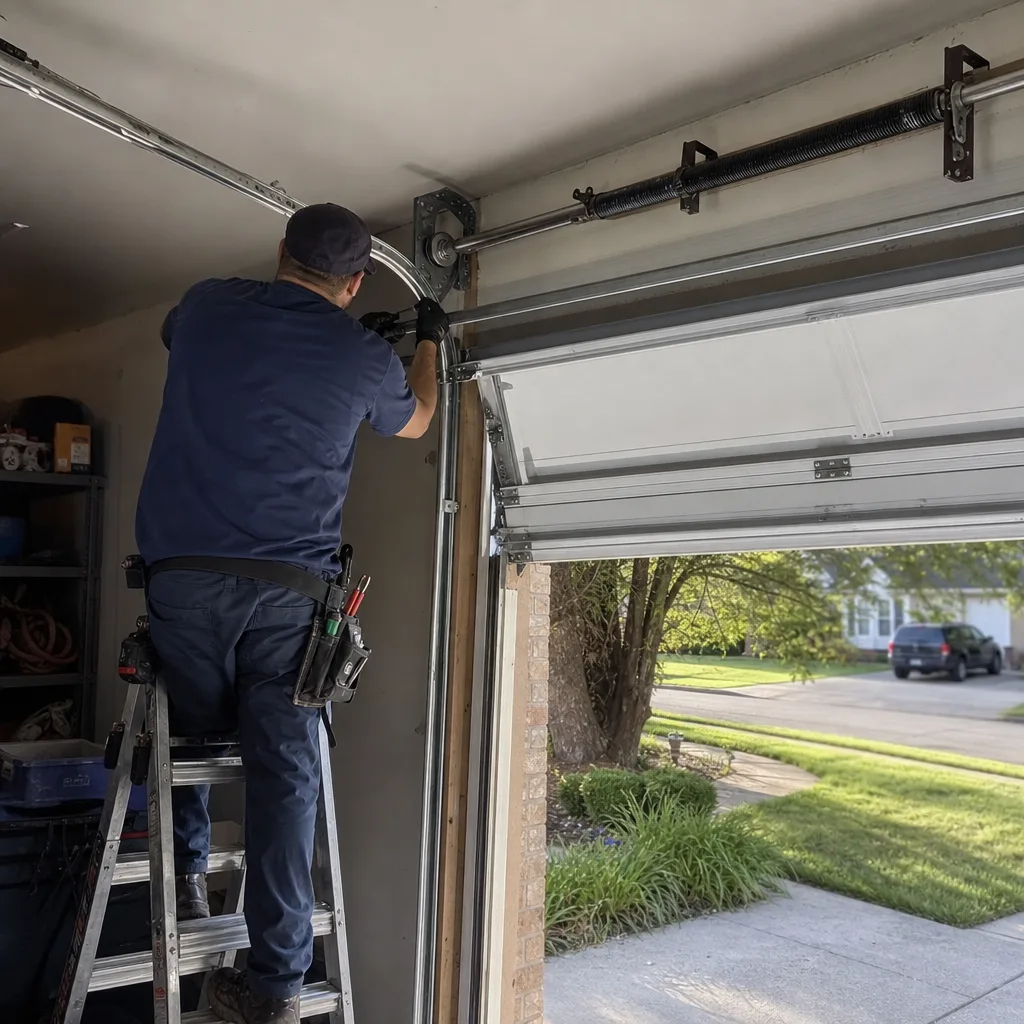
Garage doors use one of two spring systems. Torsion springs are mounted on a horizontal shaft above the door. Extension springs run along the horizontal tracks on either side. Both do the same job: they counterbalance the weight of the door so the opener only has to lift a fraction of it. Both fail eventually, and both fail in ways you can spot visually long before they break.
What a Failing Torsion Spring Looks Like
- A visible gap in the coil. A torsion spring should be a continuous coil. If you can see a gap of even a quarter inch between two coils, the spring has cracked and is running on borrowed time.
- Rust streaks or heavy oxidation. Surface rust is normal on an older spring. Flaking or pitting rust that has thinned the metal is a warning sign.
- A door that feels unusually heavy when you lift it by hand. This suggests the spring has lost tension, not that it’s about to break, but it does mean the opener is working harder than it should.
- Discoloration or a metallic snap sound. If a spring has partially failed, the coil can look slightly unwound or discolored on one side.
What a Failing Extension Spring Looks Like
- Stretched length. An extension spring that has stretched noticeably longer than its neighbor on the other side is losing tension.
- A visible gap or separation in the coil. Same as torsion: a gap means it’s cracked.
- Missing or damaged safety cables. Extension springs should be threaded through a safety cable that runs the length of the spring. If the cable is missing or frayed, that’s a safety issue independent of the spring itself.
On a two-spring torsion system, both springs are almost always replaced together as a matched pair, because a new spring paired with an old one will wear unevenly. When we quote a spring replacement in West Park, we quote per spring, so a pair is roughly twice the price of one. The written estimate breaks this out before any work begins so there are no surprises.
Step 2: Check the Cables and Cable Drums
The cables are the steel lines that run from the bottom corners of the door up to the drums at the top of the tracks. They work with the springs to lift and lower the door, and they’re the component most likely to fail without warning. Cables fray from the inside out, so by the time you can see a problem with the naked eye it’s often been developing for months.
Standing to one side of the door, look up the length of each cable with a flashlight. What you’re looking for:
- Fraying or broken strands. A healthy cable is smooth and uniform. Any visible fraying, kink, or birdcage (a section where strands have separated) means the cable should be replaced.
- Rust or corrosion along the length. Cables are steel and they do rust. Light surface rust is a watch item; heavy rust along the whole length is a replacement item.
- A cable that’s come off the drum. If you can see the cable sitting loose at the top of the track instead of wound neatly on the drum, stop and call. A cable off the drum means the door is being held up by less than it should be, and a sudden drop is possible.
- A cable drum that looks loose or tilted. The drum is the round spool at the top of each track. If a drum looks like it’s sitting at an angle or has slipped off its mounting point, that’s a call.
Do not attempt to re-seat a cable yourself. Cables are under tension from the springs, and they can snap back with enough force to cause serious injury. We treat cable work the same way we treat spring work: it’s a trained-technician job. A snapped spring on the road or a broken cable with the car inside is the kind of situation where speed matters, which is why we run dedicated emergency garage door service for West Park homeowners who need it now rather than next week.
Step 3: Rollers, Hinges and the Bottom Seal
Rollers are the wheels along the edge of each door panel that travel inside the track. There are usually ten to twelve per door. Hinges connect the panels to each other. The bottom seal is the rubber strip along the bottom edge of the door that meets the floor. None of these fail dangerously, but they do wear out and take the door’s quiet, smooth operation with them.
Rollers: What to Look For
- Worn steel rollers. Steel rollers are common on older doors. They’re loud and they wear the track faster than nylon rollers. If you can hear the door from inside the house, worn steel rollers are usually the reason.
- Flat spots or cracks on nylon rollers. Nylon rollers are quieter but they do flatten and crack over time. A roller that doesn’t spin freely when you nudge it with a finger is due for replacement.
- Loose roller stems. The metal pin that holds the roller in its bracket should be tight. A wobbly roller will eventually wear the bracket itself.
Hinges and Fasteners
Look at each hinge along the panel seams. Loose screws are common, and it’s fine to tighten them with a screwdriver. What you’re watching for is a hinge that’s actually cracked or bent, or a screw hole that’s stripped and no longer holds a screw. One or two loose screws is normal; a hinge that’s clearly failing is not.
Bottom Seal
- Cracks or tears. The rubber should be flexible. If it’s hardened, cracked, or falling apart at the edges, it isn’t sealing.
- Visible gaps when the door is closed. Look from the outside with the door down. If daylight comes through under the door, or if the seal doesn’t make contact with the floor, air, water and small animals are getting in.
- Mold or rot on a wood bottom panel. If the door’s bottom panel is wood and the seal has been letting water in, that panel may be damaged beyond just the seal. That’s a call.
Step 4: Tracks, Panels and Fasteners
The tracks are the vertical and horizontal guides on either side of the door. They’re stamped steel and they’re surprisingly easy to bend. A door that has been bumped by a car, a lawn mower or a bicycle, or that’s been run into a closed object inside the garage, will often have a track that’s slightly out of alignment even if it looks fine from the front.
Track Inspection
- Dents or flat spots. Run your hand along the inside of the track (door closed, springs untouched). Any spot where the track doesn’t feel smooth and even is a bend.
- Loose track mounting brackets. The brackets that hold the track to the garage frame should be tight. Loose brackets let the track shift, and the roller will start to bind.
- Parallel tracks. The two vertical tracks should be exactly the same distance apart top to bottom. If one side flares out slightly, the door will run crooked.
- Debris in the track. Sawdust, gravel, leaves and small screws collect in the bottom of the track. Wipe them out with a rag.
If the door has clearly come off one track or is hanging at an angle, stop. Don’t try to force it back on. A door that’s off track can come down suddenly, and the repair has to include fixing whatever bent the track in the first place.
Panel and Fastener Inspection
Look at the door panels themselves. Small dents in the middle of a panel are cosmetic; you can leave them alone. What matters is:
- Panel separation. If the panel seams are no longer tight, the door may be dropping on one side.
- Rust at the panel edges. Surface rust is fine to leave; rust that’s started to eat through the panel is not.
- Loose or missing fasteners. Every hinge and bracket should have its full set of screws. If a bracket has lost half its screws, that’s a sign the door is moving more than it should.
Step 5: The Manual Balance Test
The balance test is the single most useful thing a homeowner can do, because it tells you whether the springs are correctly tensioned without having to touch them. If the door balances, the springs are doing their job. If the door doesn’t, the springs (or the door’s alignment) are off, and that’s a call.
How to Do the Balance Test
- Close the door fully. Disconnect the opener by pulling the red emergency release handle hanging from the opener rail. The door is now in manual mode.
- Lift the door by hand, using the bottom edge, to about chest height. Lift slowly and let it settle.
- Let go. A well-balanced door will stay where you leave it.
- Repeat the lift to about knee height and again to about shoulder height. A balanced door should feel roughly the same weight at every point. If it feels very heavy at the bottom, the spring has lost tension. If it feels heavy at the top, the spring may be over-tensioned (which is a spring problem, not an opener problem).
- Lift the door all the way up (or as far as you can comfortably), and let go. It should stay up. If it slides back down even a little, the springs aren’t holding.
- Reconnect the opener by pulling the release cord once more (it usually re-engages when the door is moved).
What the Result Tells You
- Door stays where you leave it at every height, feels light and even: springs are correctly tensioned. Good.
- Door feels heavy to lift but still stays up: spring tension is low. This is often the very first sign of a weakening spring, and it’s a good time to have a specialist look before it breaks.
- Door drops or slams down: stop. Do not use the opener. This can mean a spring has failed or a cable is compromised. Call for emergency service.
- Door binds going up or comes back down slowly but doesn’t slam: could be a track alignment issue or a roller issue rather than a spring. That’s a normal repair visit, not an emergency.
If you’re not comfortable doing the balance test, especially on an older or heavy wood door, don’t force it. A specialist can do the test in two minutes and will tell you plainly whether the springs are due.
Step 6: Lubricate the Right Parts With the Right Product
This is the section most checklists get wrong. “Lubricate moving parts” tells you nothing, and in practice a lot of the damage homeowners do during maintenance comes from using the wrong product on the wrong part.
What to Lubricate, and with What
- Rollers: a light spray lubricant or a few drops of machine oil on the roller’s bearing, not the roller itself. Nylon rollers want far less than steel rollers. Wipe off excess so dust doesn’t stick.
- Hinges: a few drops of light machine oil in the pivot points of each hinge. Wipe off what drips.
- Torsion spring: a light coat of a dedicated garage door spring lubricant or a light spray lubricant on the coil only. This is a dust-inhibiting coat, not a heavy grease.
- Extension spring: light oil on the coil, sparingly.
- Track (inside surface): a very light wipe with a slightly oiled rag, only to control rust. Do not grease the track itself.
- Pulley and bearing plates: a drop of machine oil at each pivot, sparingly.
What Not to Use, and Where
- WD-40 on the springs. This is the single most common mistake. WD-40 is a solvent and light lubricant, not a long-term spring lubricant. It washes away the heavier lubricant already on the spring, and over repeated use it accelerates wear. Use a product made for springs.
- Heavy grease on the track. Grease on the track attracts dust, grit and sawdust, which turns into an abrasive paste that wears the rollers faster than a dry track would. A dry track with clean rollers runs better than a greased track.
- Anything on the opener rail’s screw or chain that isn’t specified in the opener manual. Modern LiftMaster and Chamberlain openers often have specific rail lubrication requirements. If you’re not sure, don’t add anything to the rail. The chain on a chain-drive opener can be lightly oiled; a belt-drive rail should be left alone.
Lubricate after inspection, never instead of it. If you’ve found a problem in Steps 1 through 5, grease on top of it doesn’t fix it.
Seasonal Timing: What to Run Before Winter and After the Last Freeze
In West Park, the two seasonal checkpoints are late fall and late spring, and they’re not interchangeable. The early-winter check is about surviving the cold. The post-freeze check is about catching what the cold did while the door sat unused. Run them in the right order and each one is quick. Skip one and the other becomes a catch-up visit.
The Pre-Winter Check (Late Fall)
Run this before the first hard freeze. The point is that metal, rubber and lubricants all change behavior when temperatures drop, and a door that was working fine in October can stiffen and stall in December.
- Lubricate now, not later. Lubricant applied in cold weather spreads poorly. Doing it before the cold snap sets up the door’s moving parts for the season.
- Test the bottom seal. Rubber gets harder in the cold and can fail to seal. If the seal is already brittle in October, it will be worse in January and the door will leak either air or water.
- Watch the balance test in the cold. Springs lose some tension in cold weather. A door that was balanced in August may feel sluggish in December. If it still passes the balance test now, it’s less likely to bind in a cold snap.
- Check the opener’s response. Many modern openers have a force adjustment. Cold weather stiffens the door, and an opener tuned in summer can strain against a winter door. If the opener is struggling, it’s a good time for an opener check. Our technicians work across LiftMaster, Chamberlain and Genie systems and can verify the force settings without just replacing the unit.
- Inspect for water intrusion. If the bottom seal has been letting water in all summer, the bottom panel may already be damaged heading into winter. Catching it now means a seal replacement instead of a panel replacement.
The Post-Freeze Check (Late Spring)
Run this after the last hard freeze. The cold does slow damage that doesn’t show up until things thaw.
- Look for rust that appeared over the winter. Steel tracks and springs rust faster in wet-cold conditions. Flaking rust rather than surface rust is the sign that the metal’s been structurally compromised.
- Re-run the balance test. If a spring was weakening in October, it may have crossed the line by spring.
- Check the seal again. Winter ice can crack a rubber seal that looked fine in fall. If the seal tore, it will let water in for the whole summer.
- Test the safety reverse. With the door open, place a small object (a piece of 2×4 works) on the floor in the door’s path, and close the door. The door should reverse on contact. This is a safety feature on every modern opener, and testing it after winter is a good habit.
- Clean the tracks. Meltwater carries dirt into the tracks. A quick wipe-down now prevents grit from wearing the rollers all summer.
The order matters because the fall check prevents winter damage, and the spring check catches damage the winter caused. Run them out of order and you miss half of what each one is meant to find.
What to Check on the Opener Itself
The opener is the motor unit that lifts the door. Modern openers, whether a belt-drive LiftMaster, a chain-drive Chamberlain, a screw-drive Genie or a smart-home-compatible Craftsman unit, have more electronics than a lot of homeowners realize, and some of the checks below are worth doing while you’re already up there for the spring inspection.
Opener Inspection Items
- Mounting hardware. The opener should be firmly attached to its ceiling bracket and to the rail. Any wobble means a fastener is loose.
- Rail alignment. The rail that connects the opener to the door should be straight and level, and the door arm should be attached and secure. A bent rail is a common cause of a door that opens partway and stops.
- Safety sensors. The two small boxes near the floor on either side of the door are the safety eyes. They should be aligned with each other, clean, and free of dust. If the opener’s light blinks a specific pattern and won’t close, the sensors are usually the cause.
- Emergency release. Pull the red handle, verify the door disconnects cleanly, and reconnect it. If the release is stuck or the door won’t reconnect, that’s a call.
- Battery backup. Many newer openers have a backup battery, and it does need to be checked periodically. If the opener beeps when you open or close it, the backup battery is usually the reason.
If your opener has stopped responding, reverses for no reason, or has a keypad or remote that no longer works, the issue is often a setting or a sensor rather than the motor itself. That’s what garage door opener repair handles. We see a lot of openers get replaced when the fix was a sensor alignment or a force setting, so we start with diagnosis, not replacement.
How to Inspect Your Garage Door (VIDEO)
If you’d rather watch the inspection than read the steps, this short video walks through the same sequence we use in West Park: springs first, cables second, rollers and seal, tracks, then the balance test. It’s a good companion to this guide, especially the visual cues for a spring that’s near the end of its life.
After any inspection, if something in the door doesn’t look right to you, don’t wait. Call West Park Garage Door Repair Pros at (855) 658-4098 and we’ll come out, look at the same parts you just looked at, and tell you plainly what needs repair and what can wait. Free estimates, and the price is agreed in writing before any work starts.
Common Mistakes to Avoid
- Lubricating the track. A greased track attracts dust and grit, which turns into an abrasive paste that wears out the rollers faster than a clean dry track ever would. Wipe the track clean and leave it alone.
- Using WD-40 on a torsion spring. It’s a solvent first, a light lubricant second, and it strips the heavier protective lubricant already on the spring. Use a product made for garage door springs, applied lightly.
- Trying to re-tension or replace a spring without training. Torsion springs are under extreme tension and can cause serious injury. In West Park, spring work is one of the reasons we exist as a specialist service; it’s not a homeowner task even for someone who’s handy.
- Replacing an opener when the door is the problem. A door that’s heavy or binding will strain a new opener just as fast as an old one. Diagnose the door first; replace the opener last.
- Ignoring a frayed cable because the door still opens. Cables fray from the inside out. A cable that looks “mostly okay” is one bump away from a sudden drop, and a drop can bend the tracks and damage the panels.
- Running the balance test on a door that’s clearly off track. If the door is hanging crooked or one side is clearly out of the tracks, stop and call. Testing it manually can do more damage.
- Skipping the post-winter check. Winter does slow damage that only shows up when things thaw. A door that passed the fall check can have a cracked seal or a rust-heavy spring by March.
See the difference
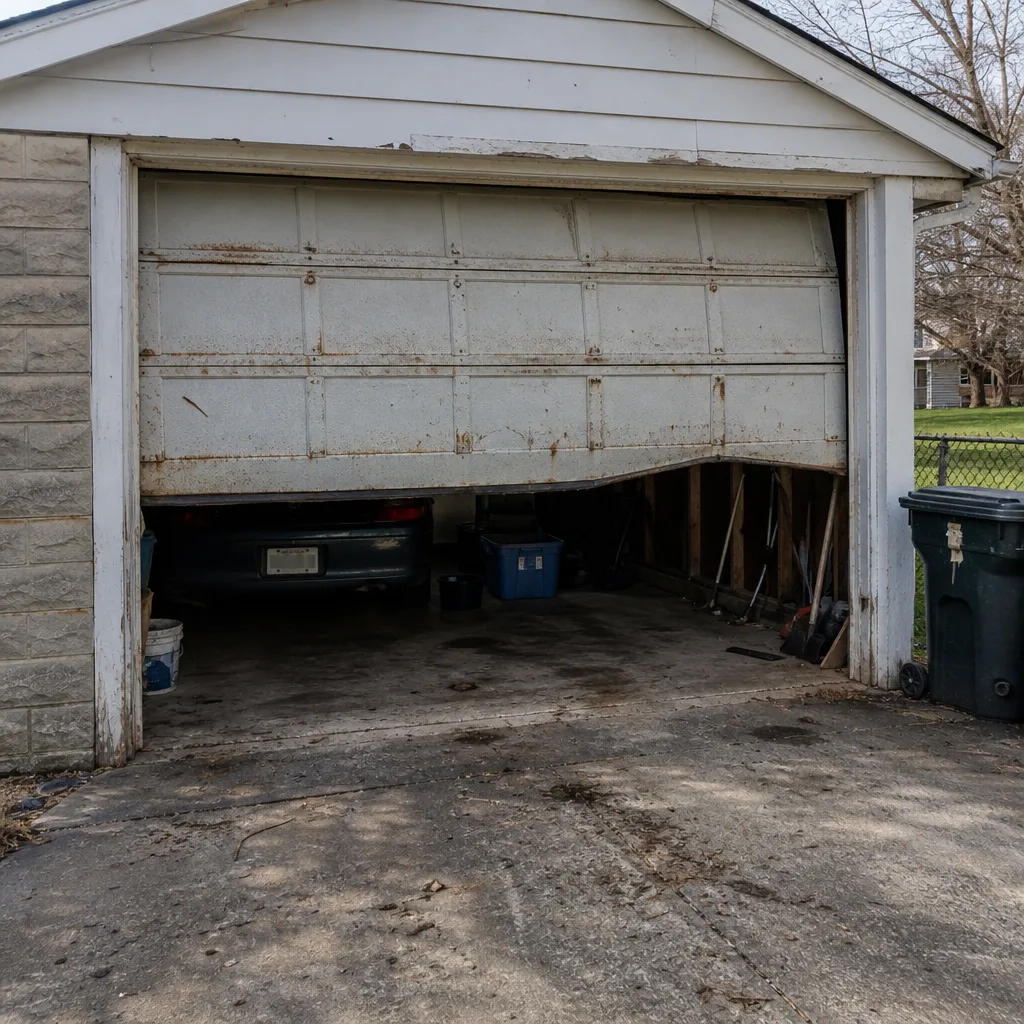 Before
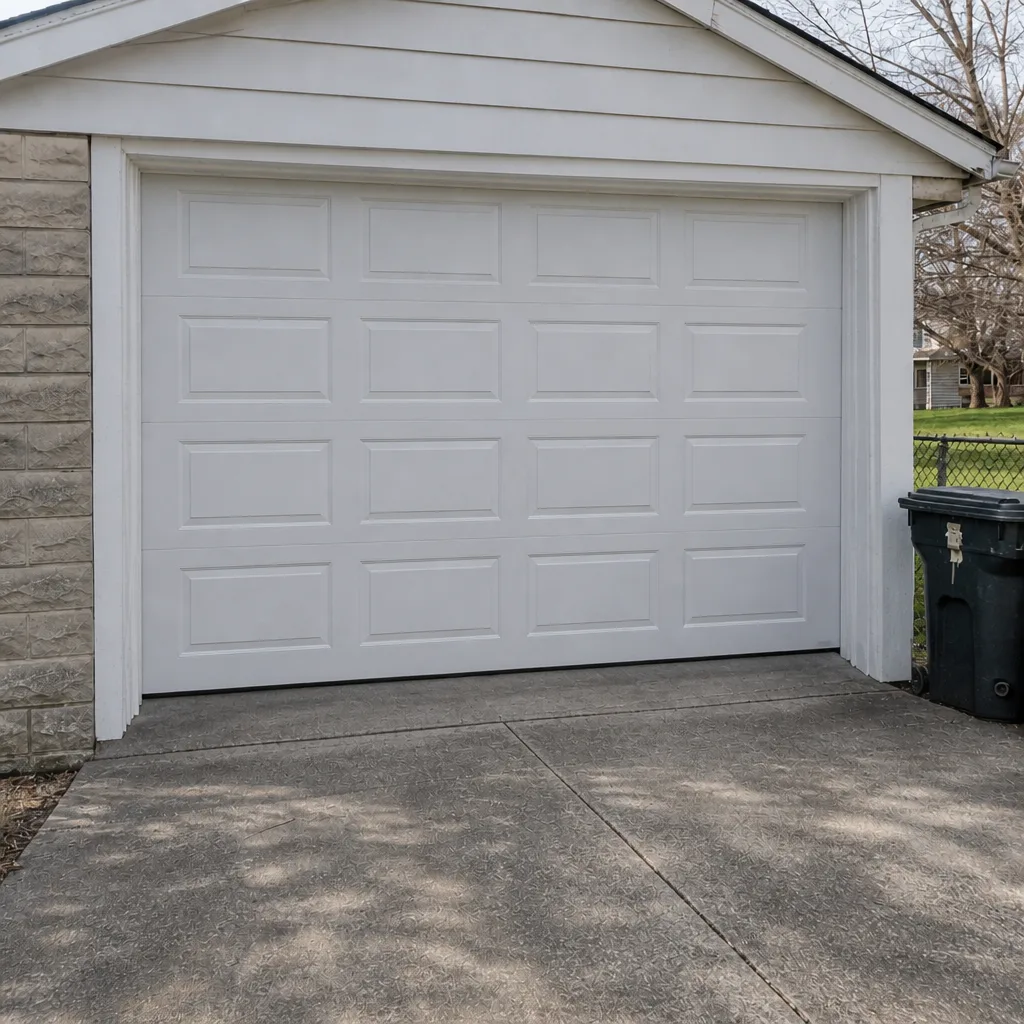 After
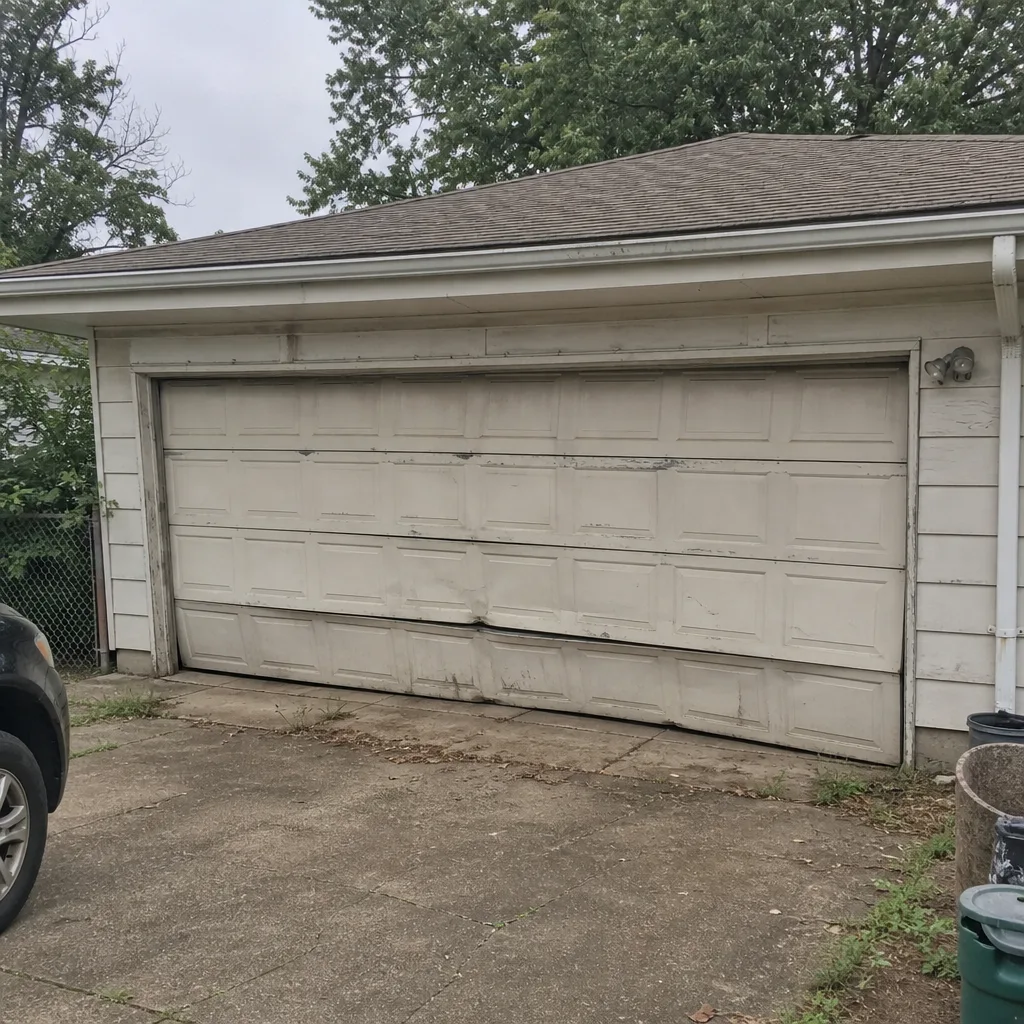 Before
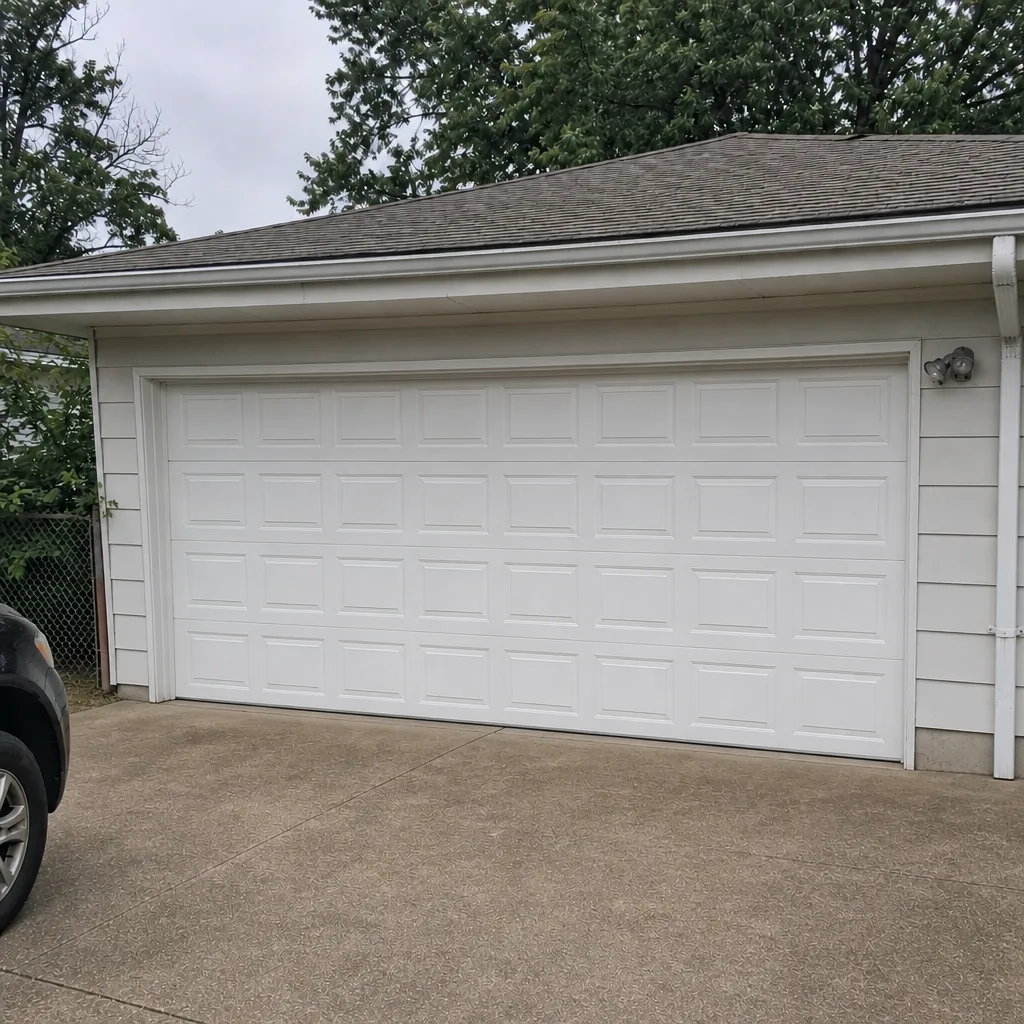 After
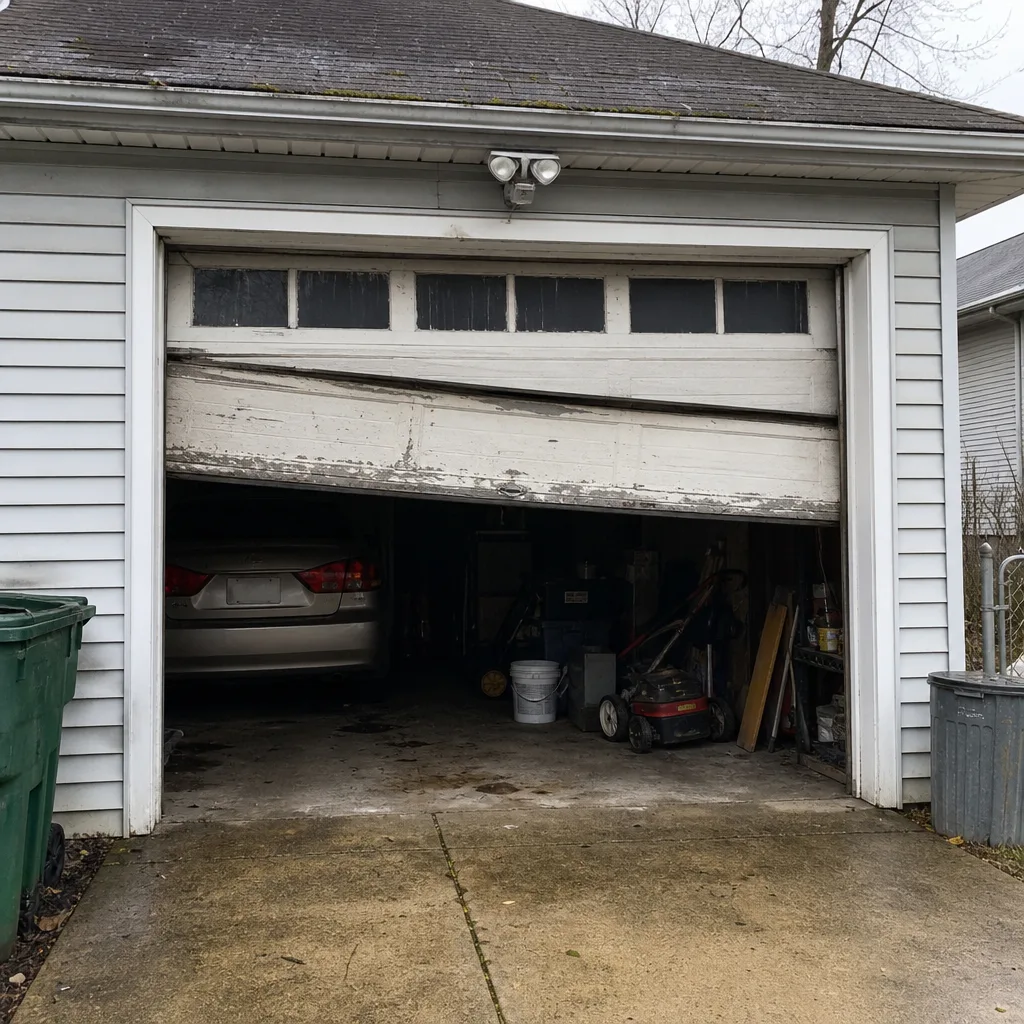 Before
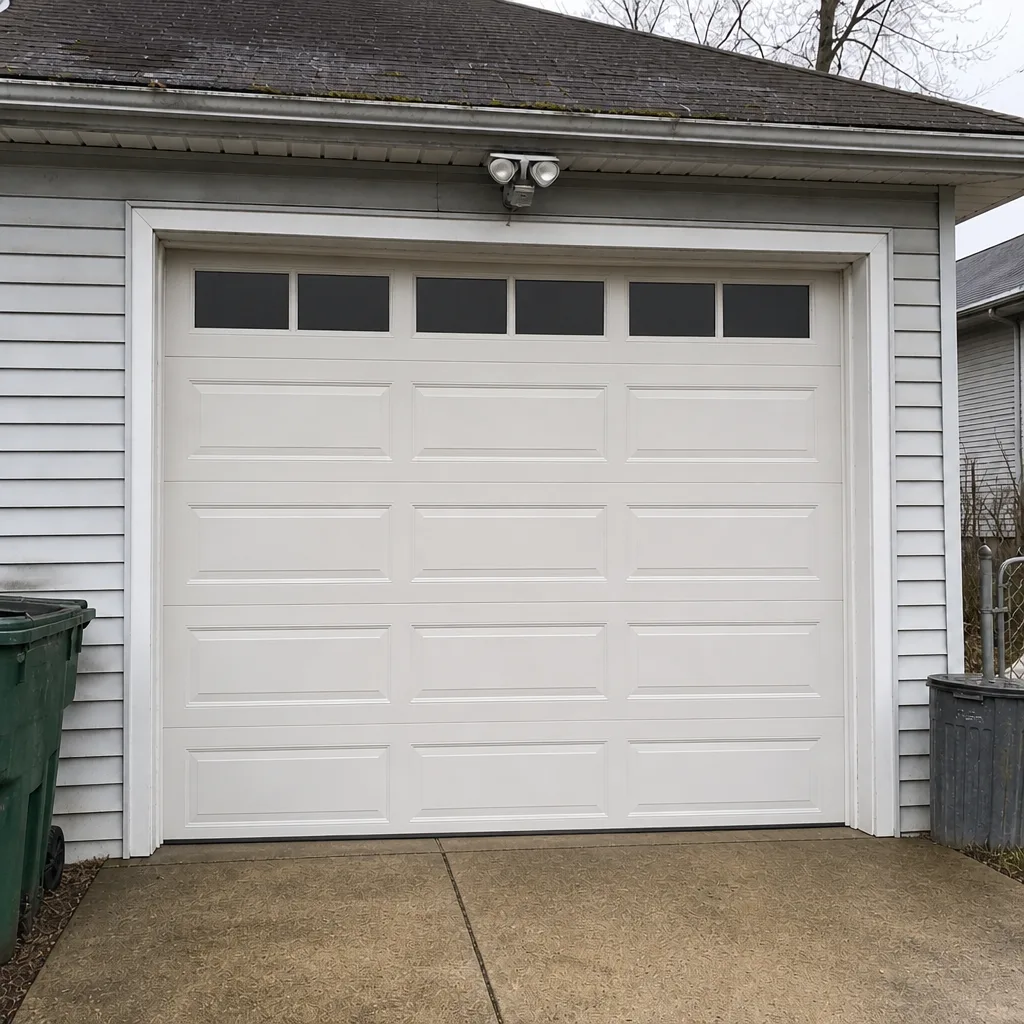 After
When to Call a Professional
There’s a clear line between a maintenance item and a repair job, and it’s worth knowing where it is. Stop and call if any of the following are true:
- You see a gap, crack or severe rust on a torsion spring.
- A cable is frayed, kinked or off its drum.
- The door has come off one track or is hanging at an angle.
- The door drops or slams when you let go during the balance test.
- The opener won’t lift the door, or reverses for no reason.
- The bottom panel shows rot or water damage under the seal.
- You can hear a loud bang from the garage when nobody has been near the door.
West Park Garage Door Repair Pros offers free estimates in West Park. Call (855) 658-4098 and we’ll come out, run this same inspection, and tell you exactly what needs fixing and what can wait. We answer 24/7, and fast dispatch is available from 7am to 7pm, Sunday through Friday. If your door is stuck open or stuck down and you can’t secure your home, call now and mention that it’s an emergency.
Frequently Asked Questions
Twice a year is the right rhythm for West Park: once in late fall before the first hard freeze, and once in late spring after the last one. The fall check prevents cold-weather damage, and the spring check catches what winter did. If your door gets a lot of use or is older than about a decade, an extra balance test mid-season is worth doing. Call (855) 658-4098 for a full professional check if you’d rather not do it yourself; estimates are free.
Yes, you can lightly lubricate the spring coil, but only with a product made for garage door springs, and only lightly. Do not use WD-40, and do not attempt to adjust, untension or replace the spring yourself. Springs are under extreme tension and cause serious injury when handled without the right tools and training. If your spring shows any sign of a gap, crack or heavy rust, call (855) 658-4098 and we’ll take a look. Estimates are free.
The balance test tells you whether your springs are correctly tensioned without touching them. With the opener disengaged, lift the door to chest height and let go. A balanced door stays where you leave it at every height and feels light and even. A door that feels heavy to lift but still stays up has weakening springs. A door that drops or slams means stop using the opener and call us. Call (855) 658-4098 for a free estimate on spring repair if the balance test fails.
A failed balance test is almost always a spring or cable issue, not a reason to replace the door. Springs and cables are wear items; doors last much longer than the components that lift them. A specialist can usually repair the failing component and get the door back to balanced without touching the panels. That said, if the door itself is cracked, rusting through a panel, or the cost of repair genuinely approaches replacement, we’ll tell you honestly. If a new door does become the better call, garage door installation is part of what we do, and we install Clopay and Amarr doors.
Yes, the inspection checklist is the same regardless of opener type. Smart-home-compatible openers from LiftMaster, Chamberlain, Genie and Craftsman all still use the same mechanical door and track components, and the balance test and visual inspection apply the same way. The only adjustments are that some openers have specific rail lubrication requirements and backup battery checks. If your smart-home features stop responding, that’s usually a settings or sensor issue, not a mechanical failure. Call (855) 658-4098 for a free estimate on opener service.
Most of the time, you get away with it, and the door just runs noisier. The times you don’t, a component that would have been a quick fix turns into a bigger repair: a spring that takes the cable and track with it, a seal that lets water into the bottom panel, or a bent track from a door that’s dropped. Maintenance isn’t a guarantee against failure, but it moves the odds in your favor. If you’d rather have a specialist look at your door before something breaks, call West Park Garage Door Repair Pros at (855) 658-4098. We answer 24/7, and fast dispatch is available from 7am to 7pm, Sunday through Friday. Estimates are free.
The Bottom Line
A good garage door check isn’t about ticking tasks off a list. It’s about running them in the right order, with real pass/fail signs for each one. Springs and cables first, then rollers and seal, then tracks and panels, then the balance test, then lubrication with the right product on the right part. Run the whole sequence twice a year, before winter and after the last freeze, and you’ll catch the small problems while they’re still small.
The most valuable takeaways are three. A visible gap or heavy rust on a spring is a call, not a wait-and-see. A frayed cable or a door off its track is a stop, not a repair attempt. And the balance test is the single fastest thing you can do to know whether your springs are due. Everything else is maintenance.
If you’d like a specialist to run the whole checklist and tell you exactly what your door needs, West Park Garage Door Repair Pros offers free estimates in West Park. Our technicians have up to 14 years of experience and work on the brand already in your home, including LiftMaster, Chamberlain, Genie, Clopay, Amarr, Wayne Dalton, Craftsman and Raynor. Call (855) 658-4098 for a free estimate. We answer 24/7, and fast dispatch is available from 7am to 7pm, Sunday through Friday. Whether it’s repair, opener service, spring replacement or a new door, one call covers it. If your door is the kind of problem that can’t wait, mention it and we’ll prioritize it as emergency garage door service.
Written by the team at West Park Garage Door Repair Pros.
Learn more about West Park Garage Door Repair Pros, or explore our garage door repair, garage door opener repair and garage door installation services.